In this article, we will guide you through how to create your own custom augmented reality experience for free.
Enabling your clients or users experience your design in AR lets them get their first impressions and give you precious feedback before any costly resources would be spent on a physical prototype – and will make them perceive you more innovative.
To get this achieved you do not need to invest into your own app development and wait weeks for the result, iterate the development and design, take care of the maintenance, etc. What you will need is:
- An AR capable device.
- A decent 3D model of your design.
- A bit of your time to set up your AR experience. If everything goes well, it can be all done in about 30 minutes.
Before going into the details, the approach explained below has some limitations you need to be aware of:
- The file size is maximized in 50 MB. If your files are bigger, you can consider optimizing your model to reduce its size.
- Your model will publicly available for download but can restrict one uploaded model per month to view-only.
- You can have 5 annotations per model.
- You will get non-commercial license.
If any of these restrictions makes this approach not suitable for you, please do not hesitate to contact us.
AR capable device
There is a good chance you already have one in your pocket. Many Android and Apple devices are already able to deliver augmented reality experiences. You can find the list of AR supported Android devices here. Apple devices require an iOS or iPadOS device with iOS 11 and an A9 processor or later. You can find the AR capable Apple devices listed here (scroll to the bottom of the page).
(There are other specifically AR purpose devices like HoloLens and MagicLeap, but if you are new to AR, there is a good chance that none of these are lying on your shelf.)
3D model of your design
Generally, your device’s performance is the only limit what you can present in AR, but in this approach we will use Sketchfab’s free account that is limited to 50 MB.
Most of the so-called poly or mesh 3D model formats, like FBX, OBJ, DAE, BLEND, STL are suitable for AR purposes, and you are also good with IGES files. The full list of Sketchfab’s supported file formats can be found here.
If you have your design’s 3D model created in CAD, generally CAD software are capable to export to IGES format.
In case your design is created in polygonal modeler software, most probably its format – or at least one of the export formats – was listed above.
Now, if you have your model in a suitable format and below 50 MB, you are good to proceed to the setup process.
Squeezing your model below 50 MB
There is a chance that your design’s file size is larger. In this case you can try to convert it into other formats and see how that affects the file size. Be aware that conversions may have negative effect on the quality of your model – polygons may flip, textures and colors may disappear, so you may need to play around a bit.
From CAD systems, you can try to export DXF file, then import it into blender and export it into various formats. (You need to enable DXF import option in blender, see how to here.)
It is also possible to import polygonal models into blender and then export into others.
There are several options to optimize polygonal models (thus reduce their size) without compromising the quality but if you are facing the issue that your models are way too large, you may want to consider using another model, if applicable. You can optimize your model for yourself, but the required effort will most probably exceed the few hours’ time window.
Set up your AR experience
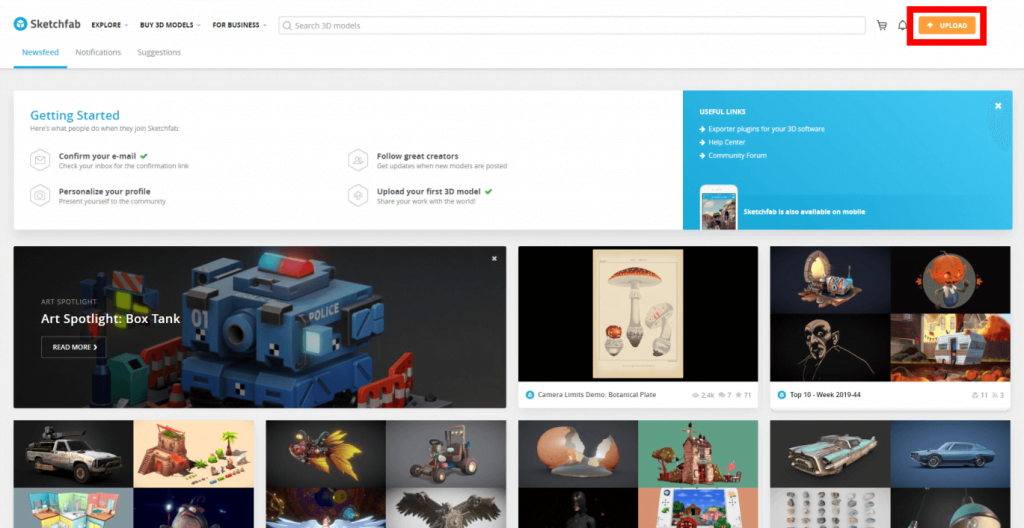
As we have already mentioned, we will use Sketchfab, so you will need an account. Go to www.sketchfab.com and click on sign up on the top right corner. Alternatively you can click “join for free” as well.

Once you are done with the sign-up procedure select upload.
In the upload window you can just drag and drop, or browse your model and click continue. While your model is being uploaded you can start to configure its properties, or just leave it as is.
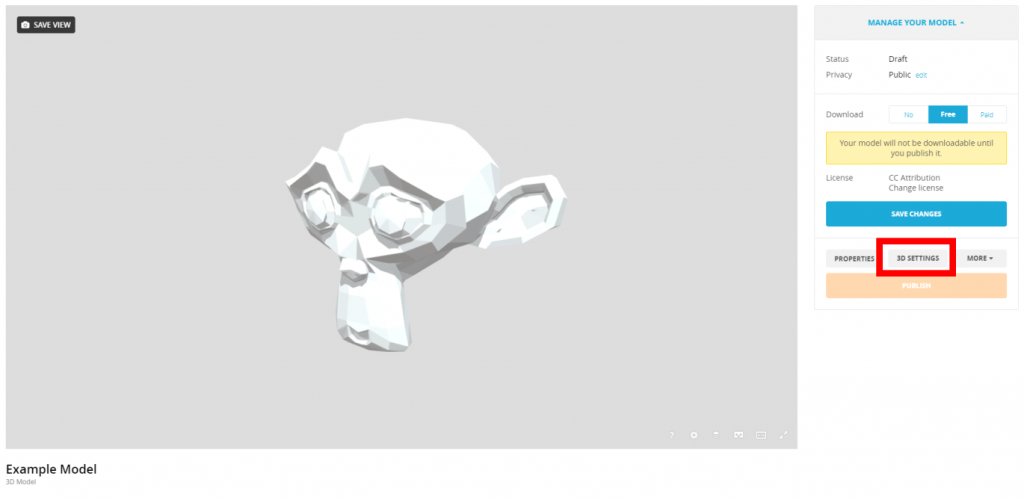
Once your model is uploaded, you can view it in the 3D window, set its download restrictions.
There is one thing to set up before going into AR, so click on 3D settings (you can skip and revisit this later if needed):
In the 3D editor, select Virtual Reality option.
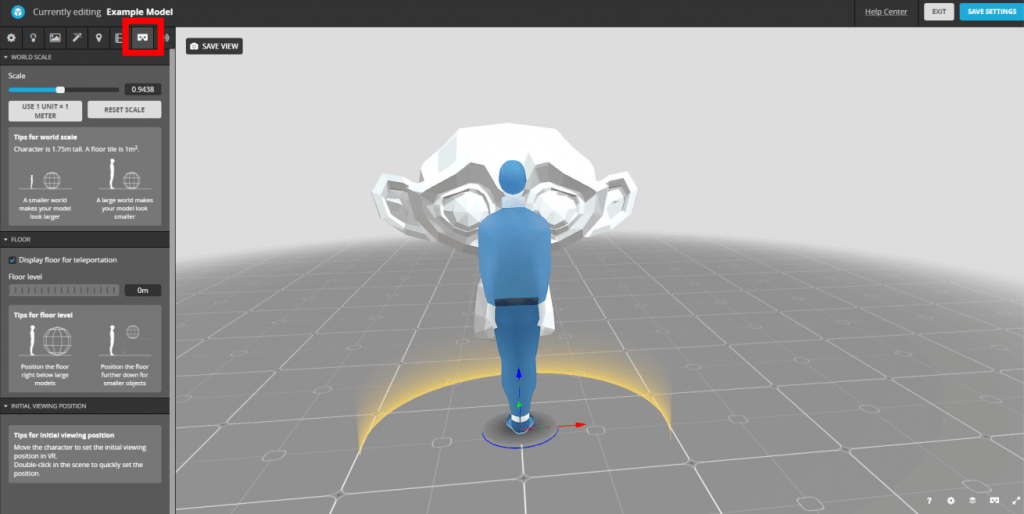
The character also represent the viewer in AR mode as well. You can set up your model relative to it: rotate the view by the left mouse button, pan with the middle, and zoom by the mouse wheel.
You can also edit the world scale, the floor level and the initial viewing position by the arrows at the character’s leg (select and move by the left mouse button).
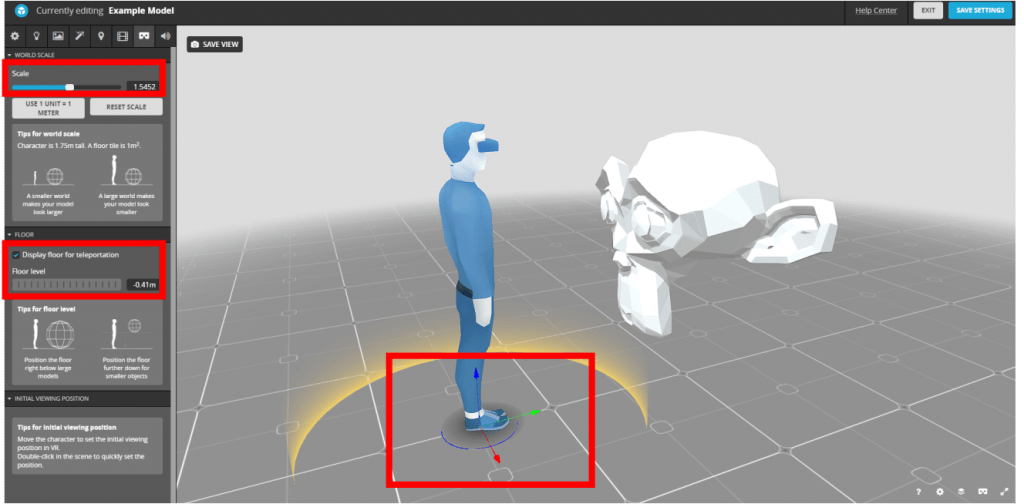
Do not worry too much about this, you can come back later and edit it any time.
Save your settings, exit, and publish your model. We are making progress here, your free augmented reality experience is all set! Stay with us, we are almost there!

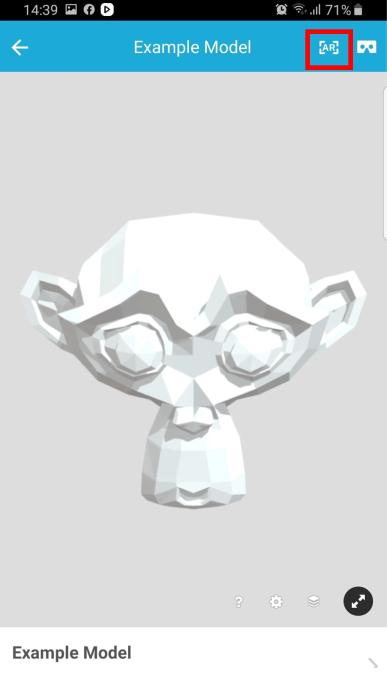
Open your model and select AR option.
Follow the instructions on the screen. First you will need to move around your device a bit slowly to find a flat surface. You will see small Sketchfab logos when the app finds a suitable surface. Your model will be placed where you tap on the surface.

Well done! Now your design is presented AR!
You can walk around it, you can rotate it by swiping and scaling by pinching on the screen.
Disclaimer
AR-ON Platform has no interest in making you use Sketchfab, neither is legally or by any means responsible for their application, so AR-ON Platform cannot guarantee Sketchfab’s application availability or functionality. This guide is not a payed promotion of Sketchfab. There are other AR applications to present 3D models, however, in the freely available options this is the one we found the easiest and most reliable.
This description’s only purpose is to show an example how simple AR experiences can be done for free.